Configure Miradore as Azure AD MDM provider
You can automatically enroll Windows 10 and Windows 11 devices to Miradore when they are joined to Azure AD or Azure AD workplace account is added to the device. Automatic MDM enrollment requires that you complete the following steps.
Purchase Azure AD premium license and assign this license to all users that you wish to include in this automatic enrollment. Licenses can be assigned to a group to automatically assign them to each user in that group.
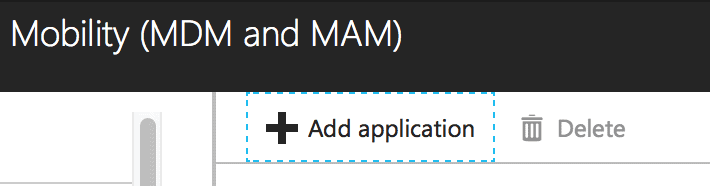
Configure Miradore as an MDM provider in Azure AD by selecting + Add Application in Azure AD mobility blade.
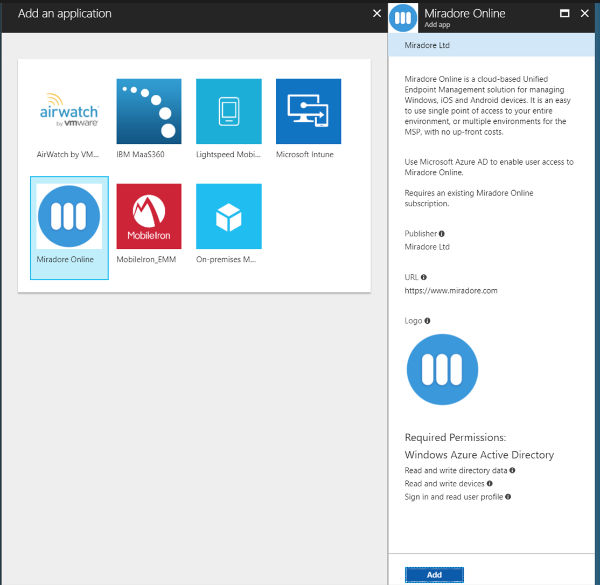
Select Miradore from the list of MDM providers and select Add from the Miradore details blade.
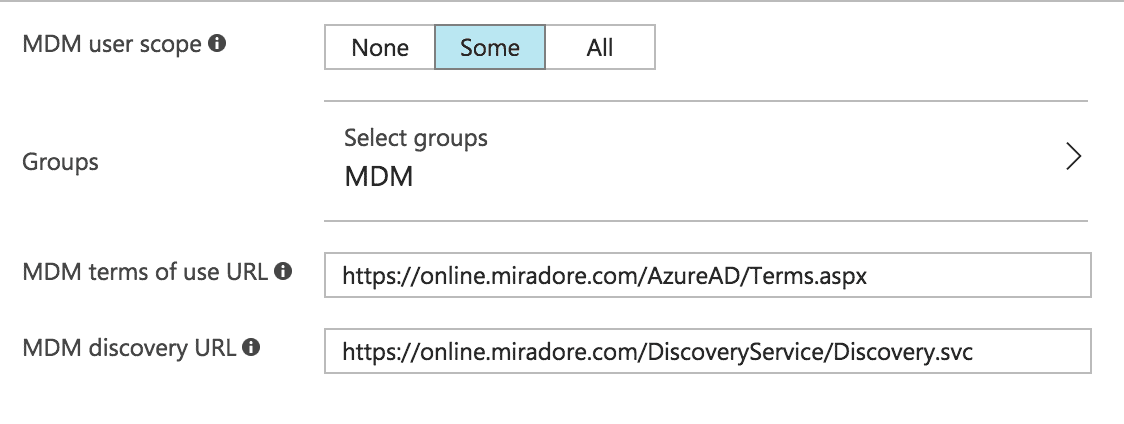
Open the newly created Application and set up the user scope that you wish to enroll to Miradore by selecting either All users or Some (and select group) and confirm the following addresses as Terms of use and Discovery URLs as shown in the picture.
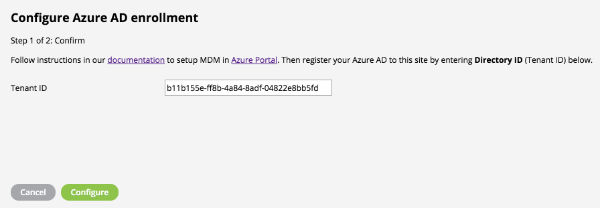
Discover the Directory ID (also called Tenant ID) from the Properties page of the Azure AD directory and copy this to the clipboard.

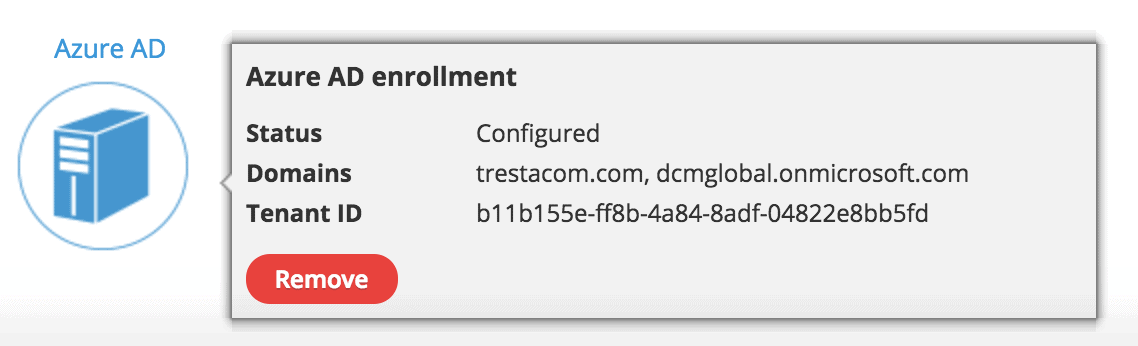
After you have set up the Azure AD portal side, link your Azure AD directory to the correct Miradore site in the infrastructure diagram (Azure AD) by entering copied Directory ID and selecting Configure.
Configuration status can be seen in the infrastructure diagram, Azure AD item.
Have feedback on this article? Please share it with us!
Previous Article:
« User-initiated self enrollment of Windows 10 and Windows 11 devices
Next Article:
Configuring Azure AD enrollment »