For the Macs, Miradore supports the deployment of application packages (PKGs) and Apple Business/School Manager apps. Sometimes you might come across a file in a DMG (Disk Image File) form that you need to repackage before deploying them to managed macOS devices. This article instructs how an administrator can first convert the DMG file to a PKG file and then sign the PKG for deployment.
Requirements
- The Miradore Premium plan
- Apple Developer account
Converting DMG to PKG
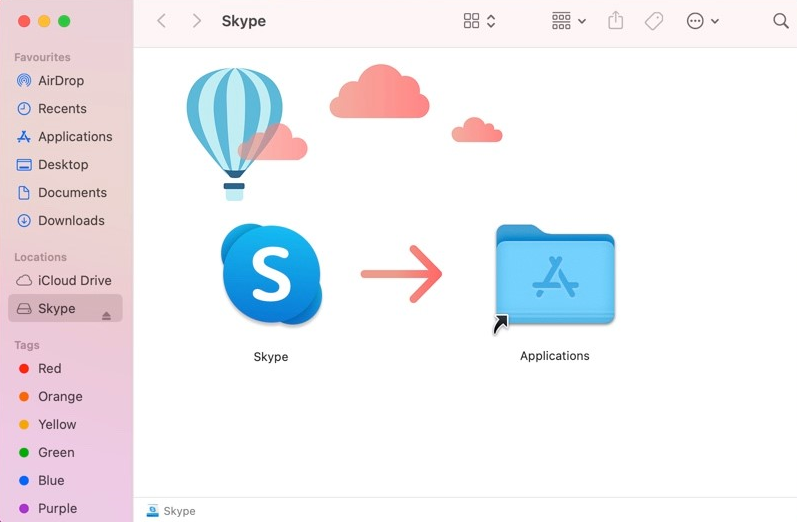
1. Open the DMG by double-clicking it.
2. Move the .app file to Applications folder.
3. Open the Terminal on the computer (Applications > Utilities) and execute the command:
sudo productbuild --component /path_to_app/App_name.app /output_folder/Converted.pkg
The next command converts Skype.app in Applications folder to Desktop as Skype.pkg:
sudo productbuild ‐‐component /Applications/Skype.app ~/Desktop/Skype.pkg
Signing macOS PKGs for deployment
PKG must meet two requirements to deploy them on managed macOS devices with Miradore:
- The package must be built as a product archive (built with the command productbuild).
- The PKG must be signed with a Developer ID certificate to verify that it is from a trusted source.
To sign a PKG, you need an appropriate certificate obtained from an Apple Developer account. You can sign packages for macOS with the same certificate until it expires.
Acquiring the certificate for signing
If you don't have the certificate yet, follow the next steps:
- Create a certificate signing request.
-
- Go to Keychain Access on your mac (/Applications/Utilities). From there, open the Certificate Assistant and the option Request a Certificate From a Certificate Authority.
- Enter the required information.
- User Email Address: your email address used with the Apple Developer account
- Common Name: your name
- Request Is: Saved to Disc
- Select where you want to save the .csr (certificate signing request) on your computer.
- Generate an installer certificate.
-
- Go to the Apple Developer portal > Account and sign in. Please note that creating a Developer ID installer certificate requires Account Owner/ Holder permission.
- Then navigate to Certificates, Identifiers & Profiles and click the + symbol to create a new certificate.
- Choose the Developer ID installer.
- Upload the certificate signing request (.csr) you created earlier and continue.
- Then download the .cer file and double-click it to install it in the Keychain Access on your macOS.
Signing a PKG
When you have the certificate you can sign the macOS PKG.
Open the Terminal and use the next command to sign the package:
productsign --sign "Developer ID Installer: Your Apple Account Name (serial number)" ~/folder/unsignedpackage.pkg ~/output-folder/signedpackage.pkg
-
-
- Developer ID Installer: Your Apple Account Name (serial number) is the name of the certificate you earlier created and installed in Keychain Access on your MacOS.
- Folder refers to the current location of the unsigned package on your Mac.
- Output-folder is the location where the signed PKG gets stored with the command.
-
You might need to provide your Keychain password with the productsign command.
Have feedback on this article? Please share it with us!
Previous Article:
« How to manually update apps on iOS or macOS devices?