barscaret-downcaret-leftcaret-rightcaret-upcheckchevron-leftchevron-rightfile-pdfinfoinfo-circlesign-in-altsignin text-widthtimesyoutube

Features > Device Configurations & Restrictions

User-specific settings for configuration profiles and apps

Updated on May 29th, 2026

Learn how to add details to user entries in Miradore to utilize user-specific settings with configuration profiles and managed configurations for apps.

About user-specific settings in Miradore

Certain configuration profiles and applications can access and utilize user-specific settings in Miradore from the user pages available under the Company > Users menu. This is particularly helpful when a configuration profile is mass-deployed to multiple devices simultaneously because it eliminates the need to create a dedicated configuration profile for each device separately. For applications, user-related settings can be created with flexible values when using managed configurations.

The following configuration profile types can utilize user-specific settings:

Device platform Configuration profile
Android (Knox) Email (Knox)
Mail for exchange (Knox)
iOS Email
Mail for Exchange
VPN
macOS VPN
Windows Mail for Exchange

Applications can use managed configurations where user-specific settings are added to the managed configuration settings as variables.

Application details page for 'Microsoft Outlook' (Android, Identifier: com.microsoft.office.outlook) with the Configurations tab selected, showing a 'Microsoft Outlook configuration' drop-down and a Configuration table with settings 'email address' set to 'Email address (Mail for Exchange)' and 'username' set to 'User name (Mail for Exchange)'.
Example: Mail for Exchange account details used as variables for some of the Microsoft Outlook app's managed configuration settings on Android

User-specific settings are managed on the different tabs of the user details page, available by double-clicking the row of a user entry on the Company > Users page. The following account settings can be managed using the tabs on the user page:

  • Main: The user's main data, some of which (for example, name and email address) are also shown on associated device pages.
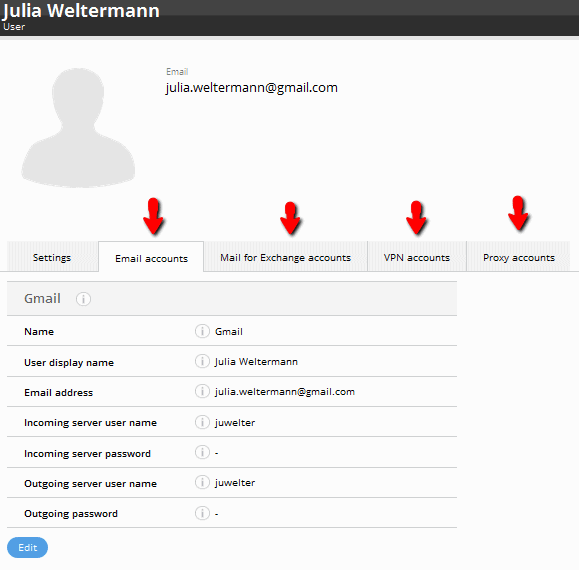
  • Email accounts: The user's email account data.
  • Mail for Exchange accounts: The user's Microsoft Exchange account data for email services.
  • VPN accounts: The user's VPN account data.
  • Proxy accounts: The user's proxy account data.
  • Managed Google Play account: The user's managed Google Play account details. These cannot be edited.

Add new account details for the user

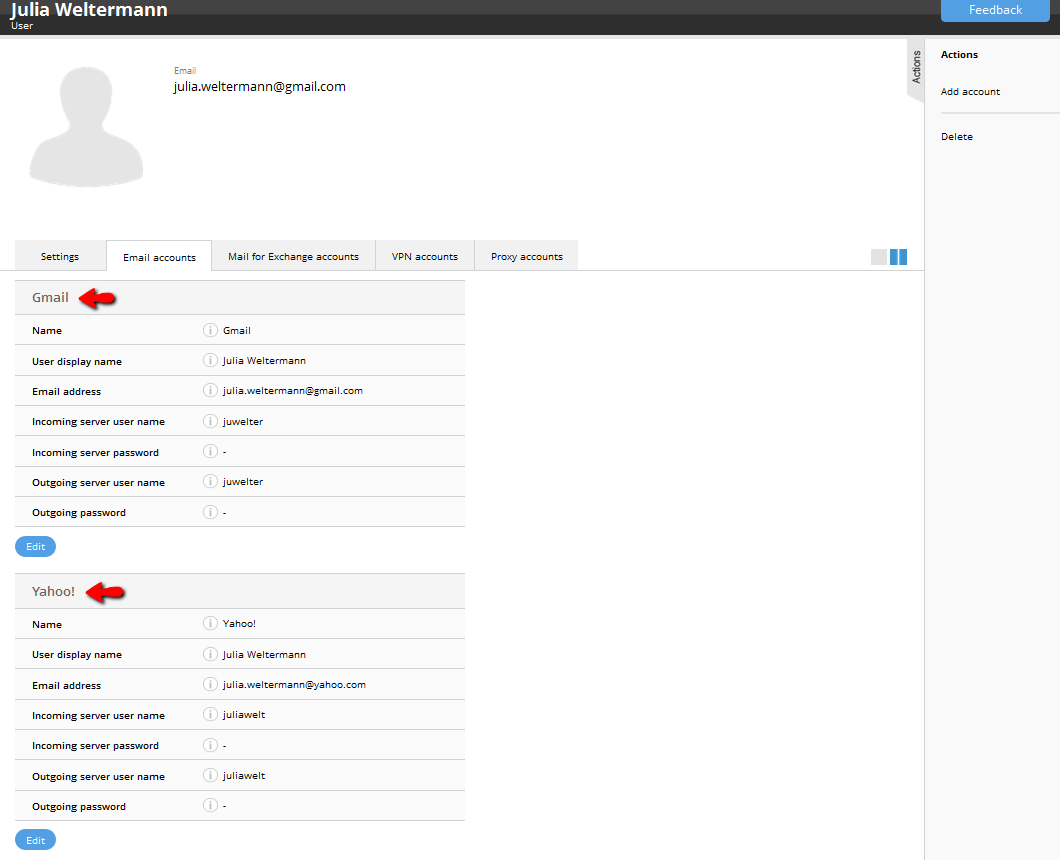
You can add multiple Email, VPN, Proxy, and Mail for Exchange accounts to a user entry in Miradore.

  1. Navigate to Company > Users and select Add account in the top-left corner.
    Result: The Add account wizard opens.
  2. In the Add account wizard, select the Account type from the drop-down list.
  3. Enter a Name for the account, then select Add.
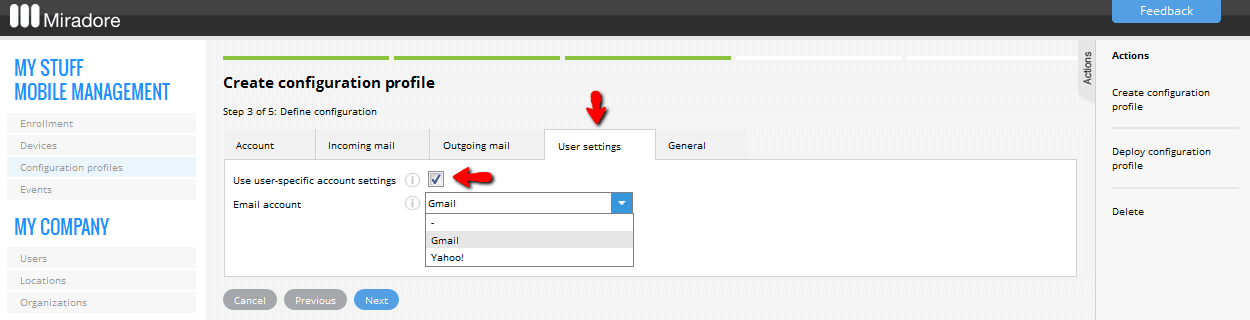
    Note: The account name is shown on the account tab on the user page. It is also used to select the appropriate account details when you choose to use user-specific account settings for applicable configuration profiles.
  4. Select Close to exit the wizard.
    Result: A new account is added to all user entries in Miradore and can be found on the corresponding account type tab.
  5. Navigate to the account tab for which you created the new account and select Edit at the bottom of the newly created account table.

    User profile page for 'john.smith@example.com' showing Add account, Actions, VPP, Managed Google Play, and Start remote session buttons, with the Email accounts tab selected displaying two email accounts: Gmail (populated with User display name 'John Smith', Email address 'john.smith@gmail.com', Incoming/Outgoing server user names 'jsmith', and masked passwords) and Microsoft Outlook (populated with User display name 'John Smith', Email address 'john.smith@example.com', Incoming/Outgoing server user names 'jsmith', and masked passwords), with the Microsoft Outlook Edit button highlighted by a red border.
    Example: new Microsoft Outlook account added to the Email account tab
  6. Fill in the necessary fields, then select Save.

Results: The new account details are ready to be selected for configuration profiles with which user-specific account settings can be used.

Miradore - example ios email user spec acc settings
Example: iOS Email configuration profile with user-specific account settings

Previous Article:
«

Next Article:
»