This article instructs how to enroll an Android device to Miradore before you know who will be using the device, or in case the device is intended for shared use.
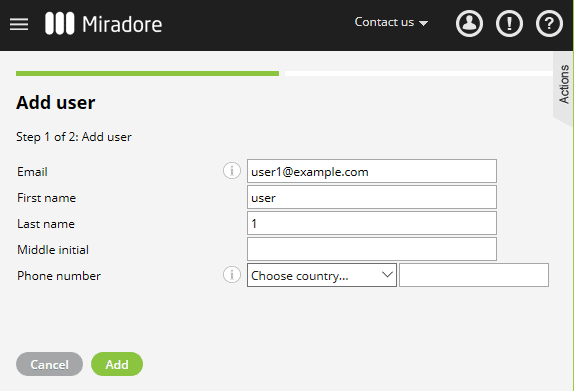
- Before enrolling a device, add a new generic user to Miradore for the device that you're going to enroll. The name and the email of the user can both be imaginary. More instructions for adding users.
- Enable Device Owner mode for the device by enrolling it into Miradore using any of the following methods:- QR code provisioning (Available for Android 7 and above devices)
- NFC provisioning (Available for Android 6 and above devices)
- DPC token provisioning (Available for Android 6 and above devices - requires you to create enrollment credentials for the generic user)You can find a detailed description of Device Owner mode and further instructions for these device provisioning methods from How to enroll work managed devices article.
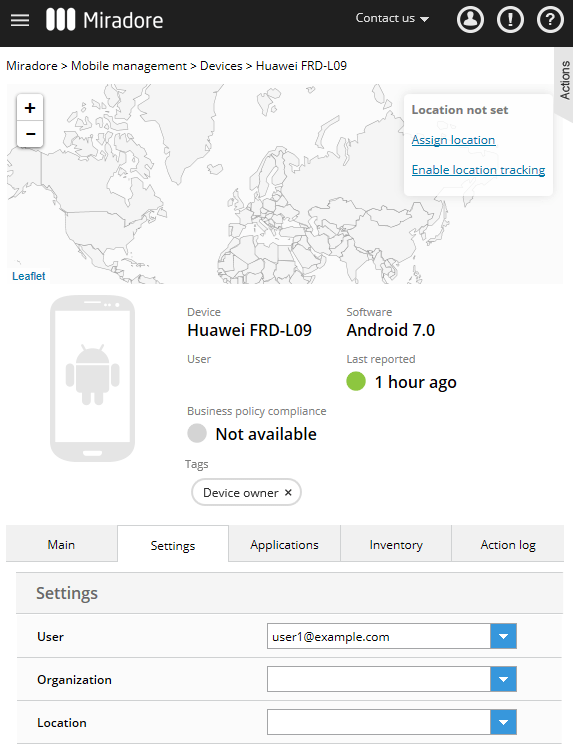
- After you have enrolled the device in Miradore, navigate to Devices view. Open the device page and set the generic user account as the user of the device if it's not set already. Make sure that you can assign only 10 devices for each (generic) user account. 10 devices per user are the requirement by Google.

- On the device's Action log, you should soon see Create managed Google Play Account action in completed status.

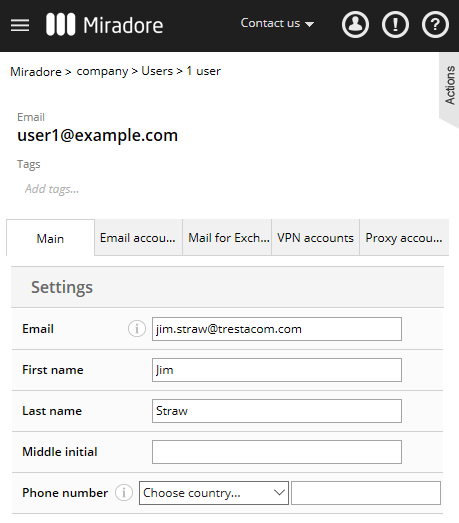
- When you learn who will be the actual user of a device, go to the Users view and edit the details of the device's generic user. Replace the generic name with the real user's name etc. You may also assign a Mail for Exchange account to the user on the Mail for Exchange accounts tab.
Have feedback on this article? Please share it with us!
Previous Article:
« Android Zero-touch enrollment with Miradore
Next Article:
Android mass enrollment using a custom configuration file »